Simple Way to Install GFCI Outlets
Your first questions is probably, “What is a GFCI outlet?”
GFCI stands for Ground Fault Circuit Interrupter. It will protect you from electric shock by automatically shutting the outlet off when water comes in contact with it or the appliance you are using
For electrical outlets that are near water sources, you should install GFCI outlets instead of standard ones in most cases. Homeowners typically have GFCI outlets near kitchen and bathroom sinks, tubs, Jacuzzis and outdoor areas where water sources are nearby. The cost of installation tools and parts are minimal, so you could consider doing the job yourself if you feel comfortable with minor electrical work. If you don’t, then hire a handyman for the job.

Use the right tools
At any hardware store you should be able to pick up the right tools for this simple job. Get however many GFCI outlets you will need, an insulated screwdriver, a non-contact tester, an electrician’s pliers and an outlet tester. Outlet testers are handy little items that will tell you whether you have done the job correctly. Non-contact testers will let you know if a given circuit is hot, i.e., carrying voltage.
Turn the power off and remove the faceplate
Start by turning the power off at the main electrical panel in your home. Tape a piece of paper across the front that says, “Do not touch!” That way, passersby will not unintentionally put you in danger of electric shock by turning the power back on.
Here are the rest of the steps of the job. Unlike many how-to tasks, it is essential that you do each step in order. It is OK, however, to periodically test the circuit for voltage with your non-contact tester, just to stay on the safe side.
After turning off the power:
- Use the non-contact tester to make sure the power is indeed off.
- Remove the faceplate. Put the plate and its two screws in a baggie so they don’t get separated. This will save you a last-minute headache later on.
- Remove the pair of long screws that hold the outlet in its box. Now pull the outlet an inch or so from the wall.
- Use the non-contact tester to see if the black wire is hot. If it is, you had better go back to your electrical panel and shut the power off.
- Remove the wires from the back of the outlet in this order: 1) black wire, 2) white wire and 3) ground wire. Keep in mind that the black wire is the hot one and the white wire is the neutral one. Many books and manuals will refer to them as such, so don’t be confused if you see those terms.
- If necessary, strip about one-half inch of insulation from the ground and white wires.
- Now, attach the exposed wires to the new GFCI outlet in the following order: 1) ground wire to the green screw, 2) white wire to silver screw and 3) black wire to brass screw. Make sure all the new connections are snug.
- Push the wires back into the wall box and tighten the mounting screws. Replace the faceplate.
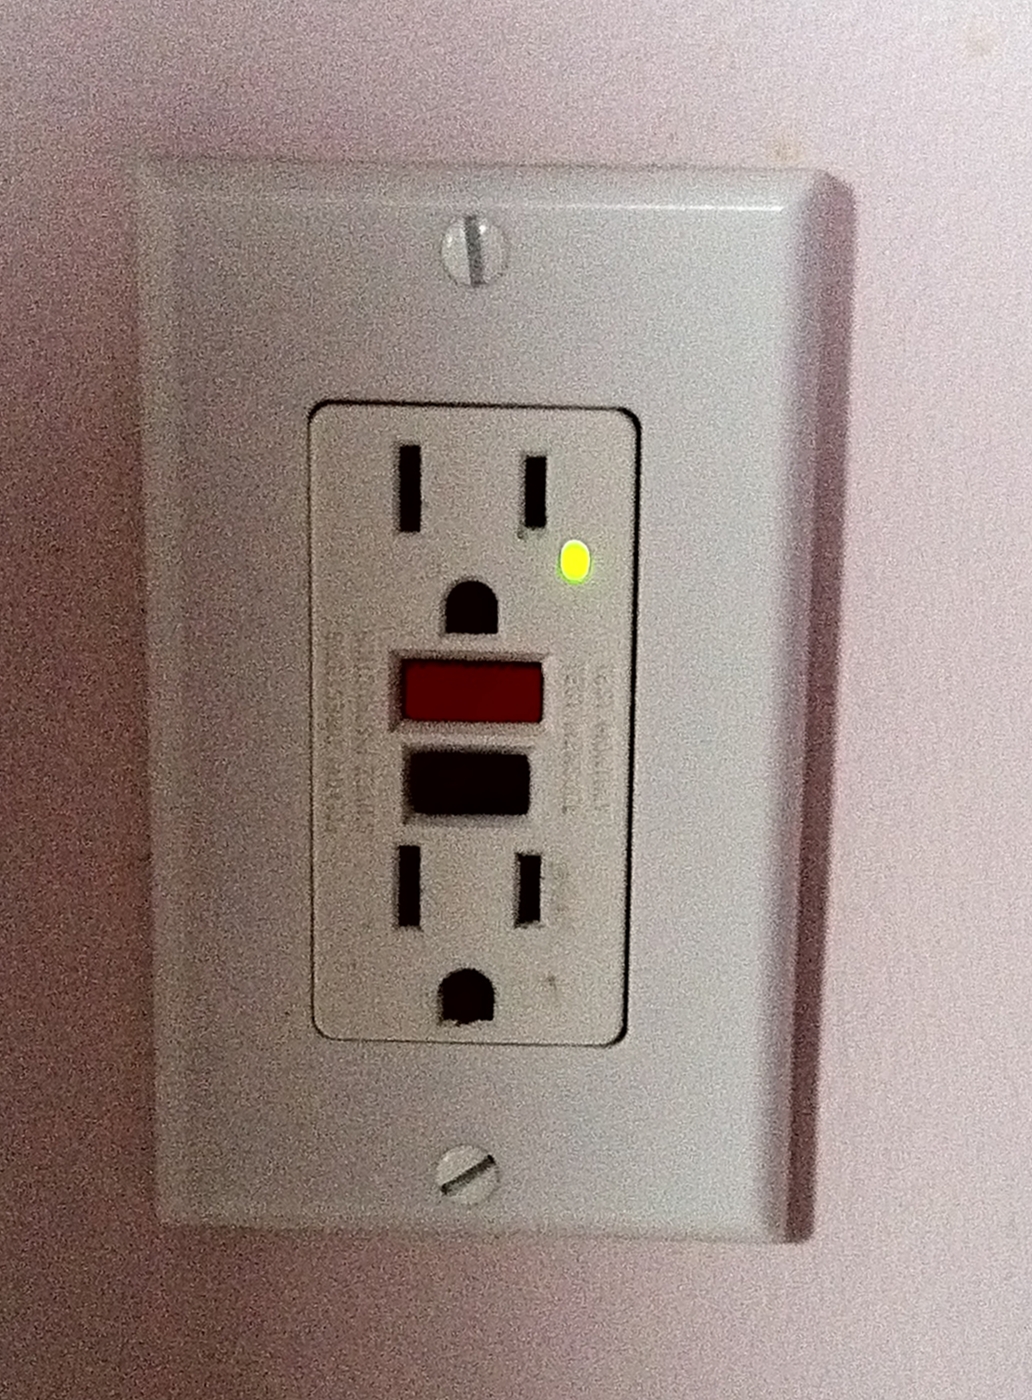
- Turn the power back on and use the outlet tester to see if you’ve done things correctly. It will show two amber lights if all is well. If the red light comes on, something is amiss.
- Assuming you see the amber lights, meaning everything is ready to go, plug in an appliance to the outlet and turn it on. Now press the ‘test’ button on the GFCI. There should be a snapping sound and the appliance should shut off.
- If that happens, you have installed the GFCI outlet properly. Now, just to be sure, unplug the appliance and push the ‘reset’ button on the new outlet. Plug the appliance back in and it should work.
Again, if you’re in doubt about your skill level, don’t hesitate to call a professional handyman. Though it seems like a mundane task, installing GFCI outlets in your home could prevent serious injury or even death from electrical shock. Safety first!
Bauer Construction has been offering handyman services in the greater Chicago area since 2006.